Diorama of the Water Cycle
Materials needed:
-One shoebox -Pipe cleaners
-Clay -Cotton balls (of different colors)
-Construction paper -Yarn
-Glue
-tape
-Markers
-Pencils
-Sticky labels
-Computer
-Internet to access class website
-Clay -Cotton balls (of different colors)
-Construction paper -Yarn
-Glue
-tape
-Markers
-Pencils
-Sticky labels
-Computer
-Internet to access class website
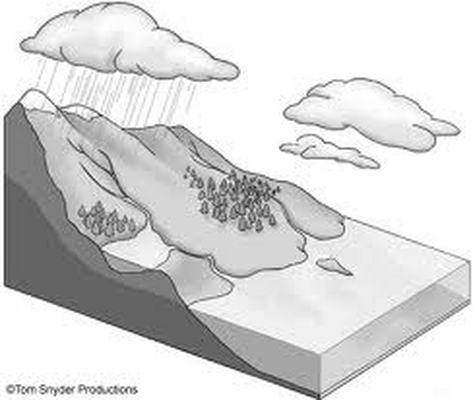
Sample Diorama:
This is just an idea to help you get started.
Procedures:
Step 1: Gather all the materials you and your partner need to create the different processes of the water cycle.
Step 2: Decide which person will do the following:
- transpiration
- condensation
- evaporation
- collection
- precipitation
- the sun, hills or mountains, trees and ocean.
- Use the materials to show how these processes work.
Step 3: Take the shoe box and glue a the piece of baby blue construction paper to the bottom of the box.
Step 4: Using the clay, markers, and any other material of your choice, begin making the pieces in the diorama.
*You do not have to use clay, you may also use the construction paper, pipe cleaners, cotton balls, and other materials you choose.
Step 5: After creating your pieces, work with your partner and label the different processes of the water cycle. Make sure to label them in the correct order.
Step 6: Once you have created your diorama with your partner talk about how you want to present your diorama and your answers to the class.
Step 7: Wait for your turn to present, and present when called.
Note: REMEMBER TO BE CREATIVE!
